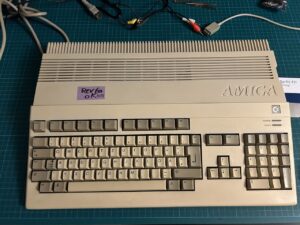
Recently, an Amiga 500 in generally good condition found its way to me. It’s my first Amiga ever, because back in the day I was loyal to Commodore’s 8-bitters for a long time. So I missed the heyday of the Amiga and then directly switched to a PC. That’s why I know next to nothing about the Amiga so far.
The machine appeared to be in good working order, except for the keyboard.The previous owner had mentioned that there were three keys that had to be pressed quite hard in order to work. Now though, it didn’t matter how hard I pressed the right Shift, Alt, and Amiga keys, they simply wouldn’t work at all. Having had similar problems with C64 keyboards in the past, I expected that this might just require some contact cleaning. How hard could it be?
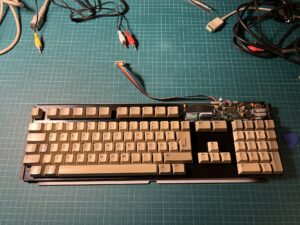
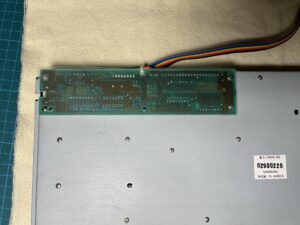
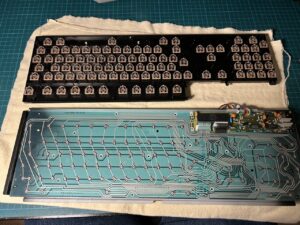
So I opened up the Amiga to remove and inspect the keyboard. At first glance, it looked a little different from the ones I had seen on message boards and blog posts. For example, there were actually two flex cables terminating on the PCB instead of one.
THE Different types of A500 keyboards
I did a little more research and learned that there are actually three different types of keyboards that can be found in Amiga 500 computers:
- The most common one was made by Mitsumi. It has a single membrane with two graphite contacts per key. These are connected by the conductive plunger when pressing a key. The traces on the membrane can sometimes be repaired if they break. And there are multiple options to replace the entire membrane if that fails.
- Quite rare and most sought after is the so-called “chicken lips” keyboard. It’s recognizable by the two C= keys it has instead of the Amiga keys. (Hence the nickname). It doesn’t need a membrane at all because it has mechanical keys soldered to a circuit board. Must be great to type on one of these!
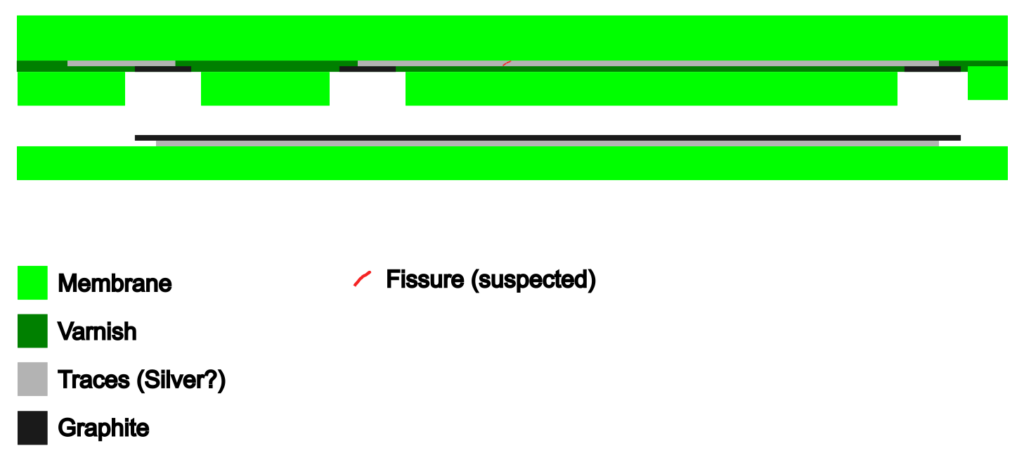
- Finally, there is a third type of keyboard produced by Samsung. It’s also quite rare, but it doesn’t use mechanical keys. However, unlike the Mitsumi keyboard, it has an intricate multilayered membrane. The graphite contact on the top membrane is pushed down onto a second one on the bottom membrane when a key is pressed. The consensus seems to be that this type of membrane is almost impossible to repair.
Next, I disassembled the keyboard itself and carefully cleaned the contacts in question. Still hoping that this might resolve the issue. It did not, of course.
The Samsung Keyboard
When these keyboards fail, it is usually because the traces on the membrane have eroded or become damaged over time. Looking at the innards of the keyboard, I noticed that the contacts for the three non-working keys were connected to the very end of one of the traces on the top membrane. On visual inspection, I couldn’t see any damage. But if that trace was somehow interrupted just before that group of contacts, that would explain the symptoms perfectly. Using a multimeter, I checked for continuity and measured the resistance between several graphite contacts. And sure enough, the suspect trace had to be broken somewhere!
On the Samsung keyboards, the traces are located in between the membranes, making them difficult to reach. Worse, the flex cables of the membranes cannot be removed from their sockets without destroying the contacts. At least that’s what I’ve read, and it seems to be true.
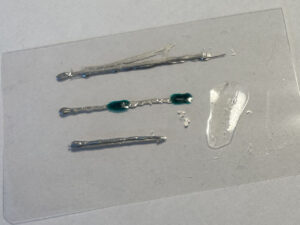
Determined to at least attempt a repair, I ordered conductive silver paint and UV-curable solder mask ink. When these arrived, I did some dry runs to test the materials and get a feel for them. It turned out that the solder mask ink wouldn’t cure even after minutes of UV treatment. So I decided to use a transparent UV-curable resin to protect the silver paint instead.
The Repair
When I felt ready to attempt the actual repair, these were the steps I took:
Step 1: Remove the 1000 or so tiny screws from the bottom of the keyboard. Carefully lift up the bottom half, including the frame, membranes, and circuit board. Even more carefully, set aside the other half, which now has tiny springs loosely placed on each plunger.
Step 2: Secure the frame in an upright position. Using a “third hand” tool, gently spread the two foils of the top membrane.
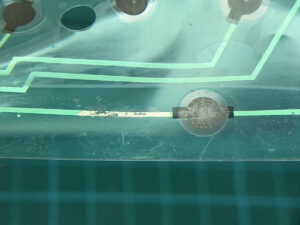
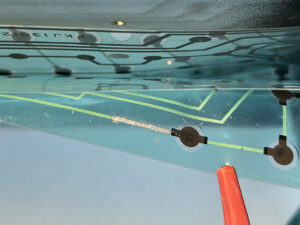
Step 3: Locate the crack in the trace by using an X-Acto knife to very, very carefully scrape off the lacquer covering the trace at strategic locations (think binary search) and check for continuity each time.
Step 4: Expose about 20mm of the trace around the crack, again using the knife very carefully. (You can see in the pictures that I wasn’t careful enough at this point!)
Step 5: Apply conductive silver ink to the exposed part of the trace and place 2-3 very thin wires into the ink as reinforcements. I used individual strands from a stranded 30 AWG wire.
Step 6: Patiently let dry the silver ink. The process can be sped up by using a hot air soldering iron at 100°C.
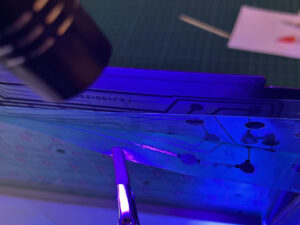
Step 7: When the ink is dry, carefully apply a thin layer of resin covering all of the ink and wires. Cure the resin using UV light.
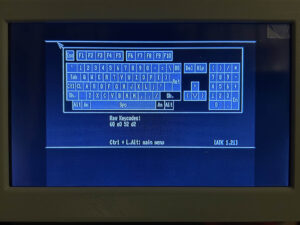
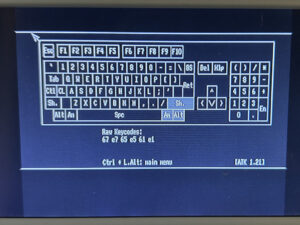
The whole process took me several hours to complete. When I was finished, I reassembled the keyboard, connected it to the Amiga 500, and started the keyboard diagnostic program again: all the keys worked fine now!
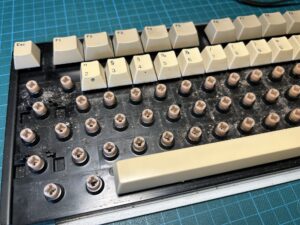
While I was at it, I took the time to remove all the key caps in order to give them a good cleaning and remove the 35+ years of grime that had accumulated underneath.
I’m curious to see whether the repaired track will hold and whether the membrane will cause problems in other places at some point. But until then, I can now explore a new area of vintage computers.

